|
****************************** - CAPTURED-TABOOS -
The Making of a Unique Head Cage - The "Ypsilon Mask" At the very beginning it was – as usual – just a thought. Not clearly visible, sort of nebulous ... a new picture called "Dinner for One". Imagine a fine dining room, a couple, a very expensive, stylish dinner. Unfortunately only one of us can enjoy it and of course, it is not the lady. But why? I thought about this for nearly two weeks. Handcuffs? A straight jacket? Some of the other form of restraint? No, it had to be something really special; something no one had ever seen before. What I envisioned was some kind of head cage; not crude, but delicate and very stylish, to fit the scene. 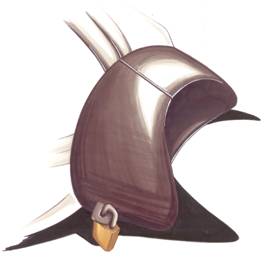 I remembered a picture seen months ago in a materials catalogue, this showing a metal casting shaped like a gummi bear. It was a promotion for "Formetal": a special sort of perforated aluminium plate that is used mainly for rapid prototyping and this material would be great for the head cage! In my imagination the device should be designed and created to enclose the lady's entire head and face, almost skintight, and it would come with a high collar to ensure a graceful posture. Of course it also had to be equipped with a locking mechanism to secure it against the possibility of accidental removal! .
 So far so good (and very ambitious) … but there was definitely a need to create this piece of "vaporware", but I had to figure out how to build it so that it would fit perfectly. So, I decided to make a cast using plaster bandages, and began with the rear part of her head, using a latex mask to protect the hair. The first attempt was successful and after the plaster had hardened I carried on with the creation of the front part. .
 This was trickier, because I had to cover her entire face, including the nose and mouth, with plaster bandages in order to get an exact replica. The latex mask was fully closed except for two small holes at the nose, and, being aware of the possibility that the plaster might flow through these, short tubes where inserted, then into her nostrils. .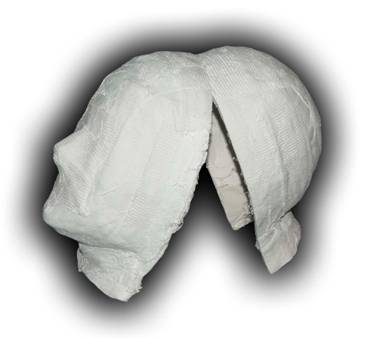 In the end, I had a pair of half-cups: on their insides representing the exact form of her head and face. After the cast had dried, the half cups were attached to each other and thoroughly coated with a release agent. I was ready for the next step – making the positive mould. I used PU foam to get the base of the positive form. .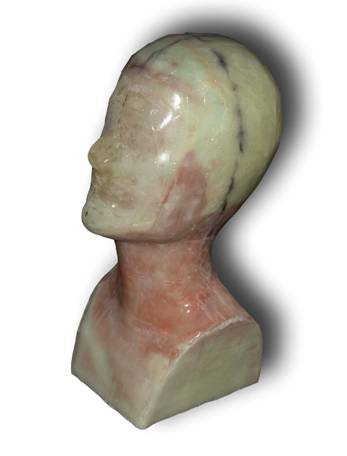
Since she'd worn a mask when I'd made the plaster cast, unfortunately the PU foam mould looked exactly like someone wearing a cheap latex mask. Her nose was deformed and there were a lot of crinkles, spread all over the head Of course these irregularities had to be corrected! I used a sharp knife and lots of plasticine. Finally, the positive mould of the head was glued onto a spare neck and shoulder part that I had used earlier to make her neck corset. It was then coated with fiber glass and epoxy resin to make it durable. .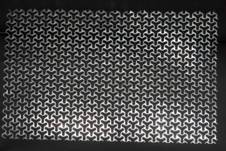
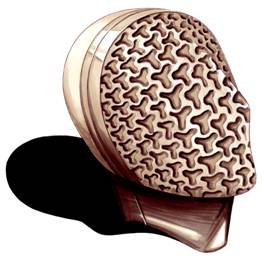
I started to create the head cage by using a piece of Formetal about one square foot in size and began to bend, stretch and squeeze the material until it roughly matched the shape of the fiber glass head. I used a plastic mallet to adjust the head cage exactly, and after cutting off the the excess material, the back half of the head cage was finished. I repeated the procedure for the front half, as can be seen in the images below. .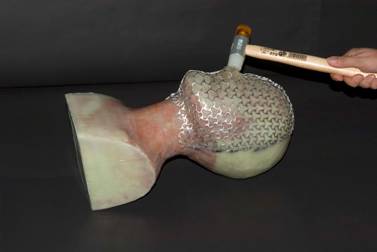 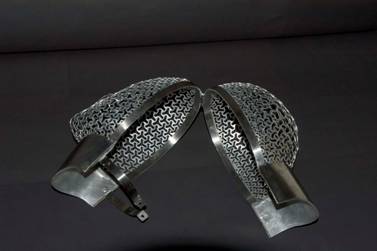
At this stage we were ready to go for the first try-on and the cage fit quite well, but the pattern of the Formetal was not symmetrical. As well, the holes around nose and eyes were much too large and so I had to start again on the front half; this time paying more attention to pattern and symmetry. Formetal is made of aluminium and is therefore relatively soft and malleable, so in order to obtain more rigidity, I created an over-the-head frame of stainless steel. The two parts of the frame are joined with a hinge at the top, and the locking mechanism was attached to the front part of the collar. At this point the Formetal half cups were glued to the steel frame. The final adjustments to the head cage were done using the plastic mallet while my lady wore the head cage - VERY gently, of course! In the end, the head cage fit her perfectly! The final step was to polish every part to get a mirror finish and this unexpectedly proved to be a very time consuming job because of the huge number of holes in the Formetal. Here below are two pictures of the finished Head Cage being worn by the special lady it was made for. .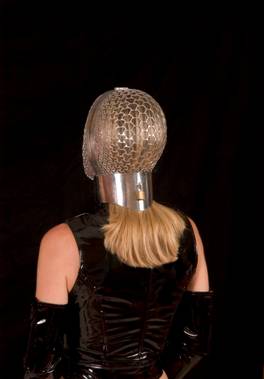 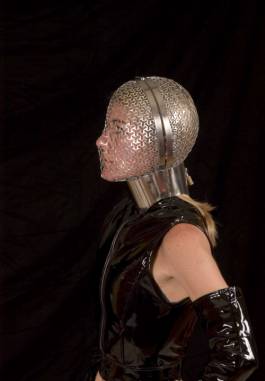
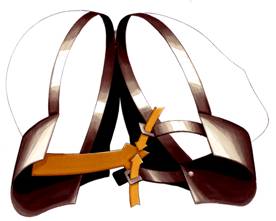
Over all, it took me nearly two weeks to complete the project to my satisfaction, but it was absolutely worth the time and effort. In retrospect, if I were to build another head cage, I'd change a few steps in the moulding process, but little else. For many reasons, I have not yet enacted the 'Dinner For One' scene, but I hope to sometime in the near future. Perhaps the scene will look like the drawings below. .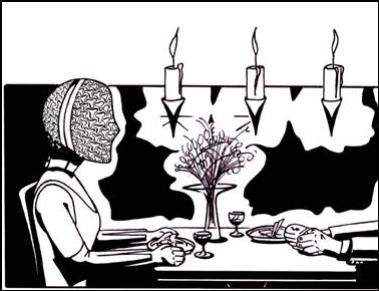 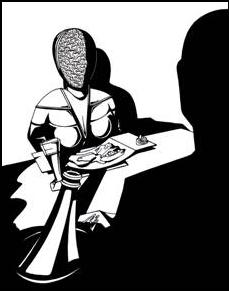 |